


Table of contents
- In this blog, we will be discussing how to start your first React Native app and debug it. Before diving into the process, it's important to note that you must have completed the installation process as mentioned in our previous blog post. If you haven't done so, please refer to it for a smooth experience. We will be covering everything from creating a new project, running the app on Android, and troubleshooting common issues. Stay tuned for a comprehensive guide on getting started with React Native!
- Setting up your Android Device📲:
- Initializing the Project :
In this blog, we will be discussing how to start your first React Native app and debug it. Before diving into the process, it's important to note that you must have completed the installation process as mentioned in our previous blog post. If you haven't done so, please refer to it for a smooth experience. We will be covering everything from creating a new project, running the app on Android, and troubleshooting common issues. Stay tuned for a comprehensive guide on getting started with React Native!
Setting up your Android Device📲:
Firstly in order to enable Developer Options, go to
About device > Build Version > Click on it (7times)
Hola! now you would see Developer Options enabled.Connect your Device to a Laptop/PC via USB Cable.
Make sure to enable the below options :
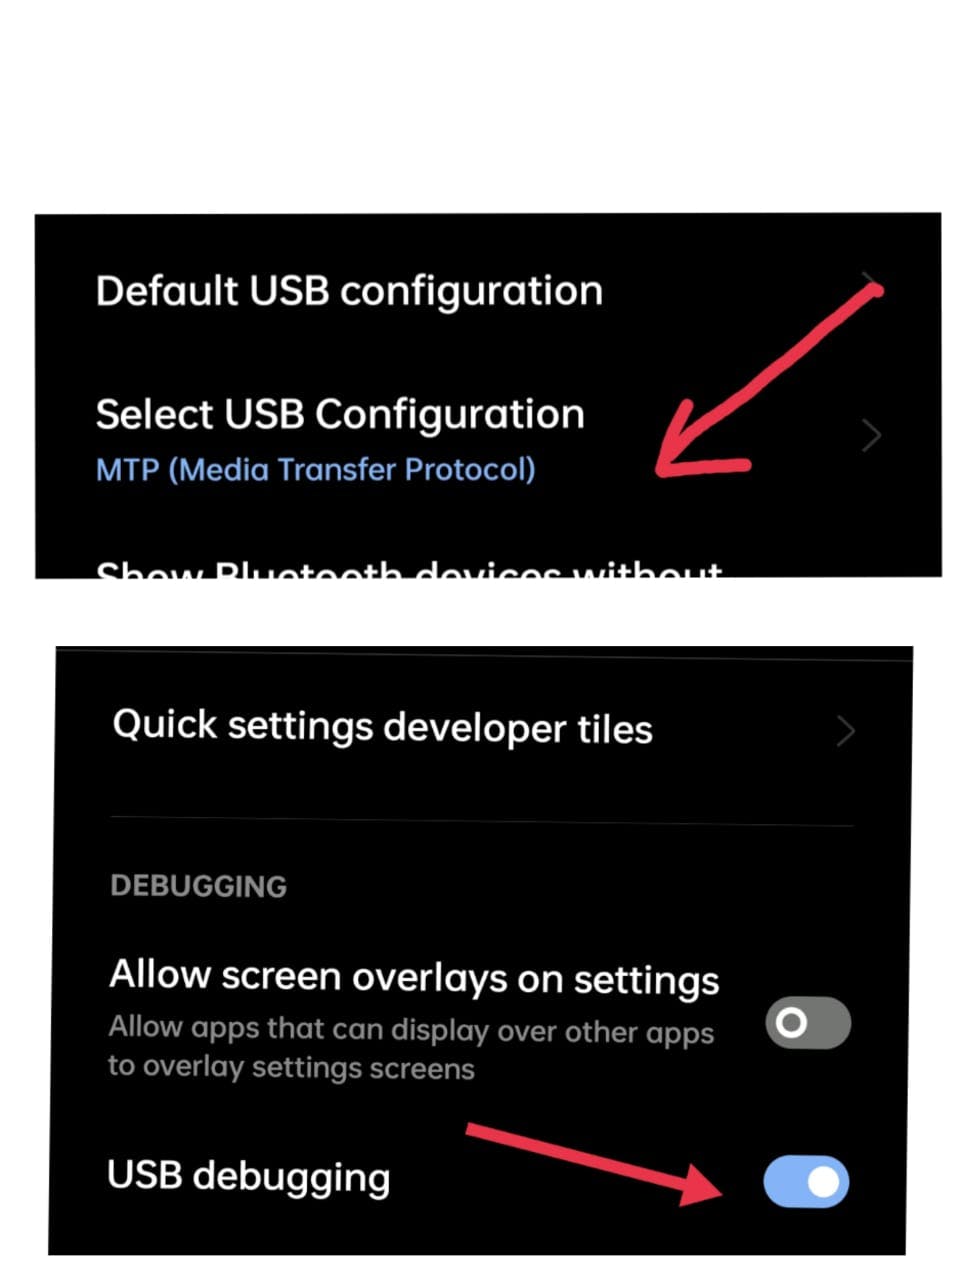
So, now let's move to our Laptop and begin our brain-damaging debugging session.
Creating a folder for our Application :
It's an easy process, create a folder named React Native at your desired location.
As we will be adding all our projects to this folder by Following Hitesh Sir's video.
Initializing the Project :
Once you have created the folder and connected your device we have to verify if it is showing any errors or not.
In order to check it run the
adb devicescommand in cmd and you will get a similar output as this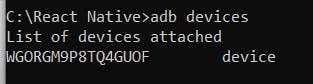
That's great if you have reached here.
In order to locate our project Folder copy its path and run the following command in cmd :
cd(space)Folder's Location
The above image was my case 👆
Now run the following command to start the project :
npx react-native init AwesomeProject01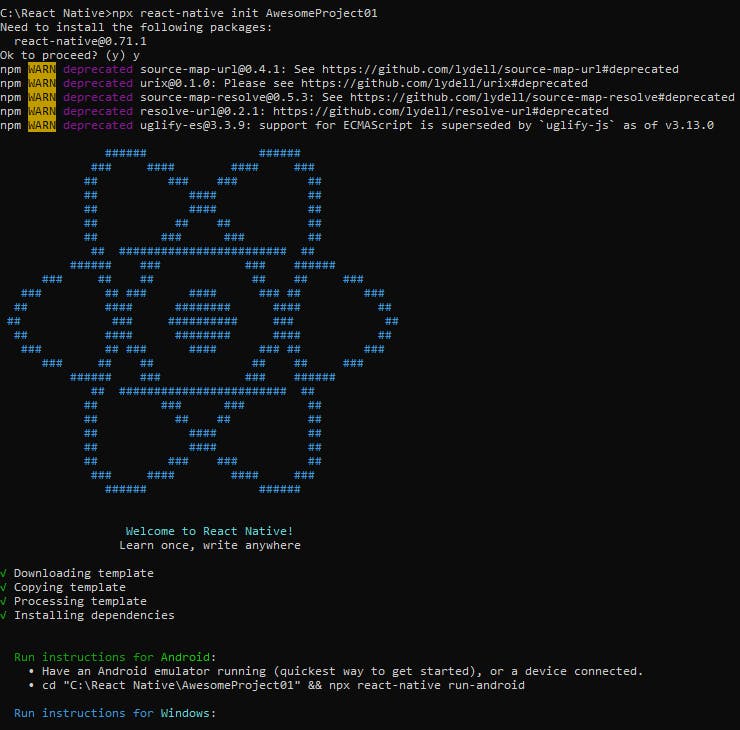
If it asks to install dependencies simply click
yand then you would get a screen similar to the above one.Now the project would have been created in your React Native Folder just open it in VS code.
The next step is to create a file named local.properties in the android folder and add the below path as it would help you not get any further errors.
sdk.dir=C:\\Users\\YourUsername\\AppData\\Local\\Android\\Sdk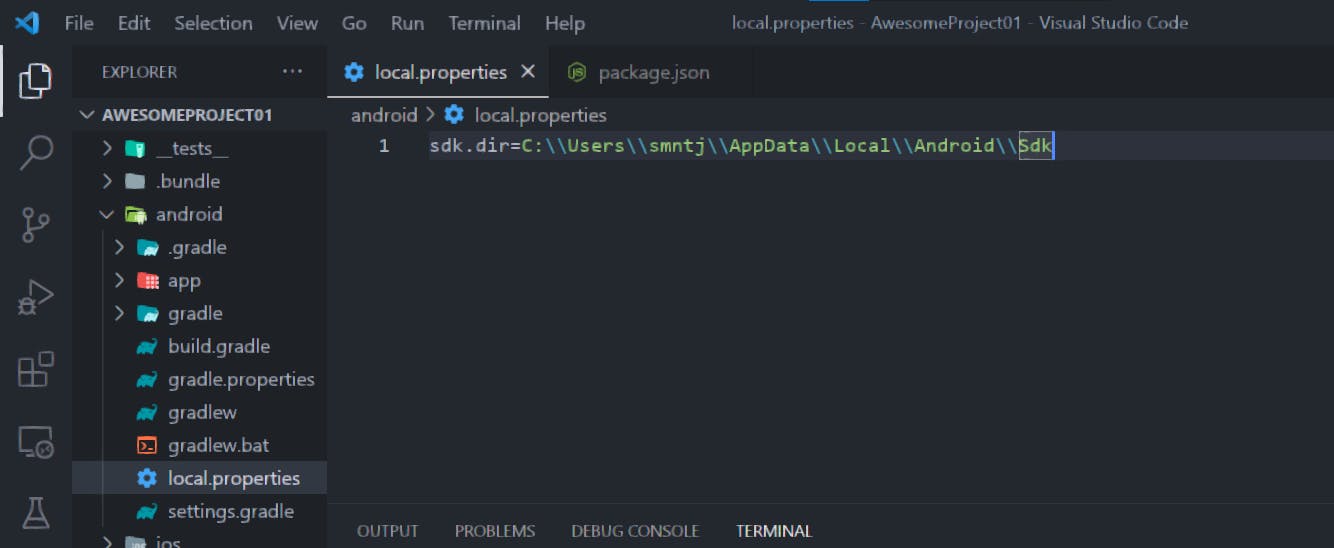
save the file and open a new terminal in VS Code.
Run the following command in the Vs code terminal now :
npx react-native run-androidIt would take 5-7 minutes to build the application and start on your Mobile Phone so have patience 🥱
Ok Great if you have got no errors and have started the project successfully
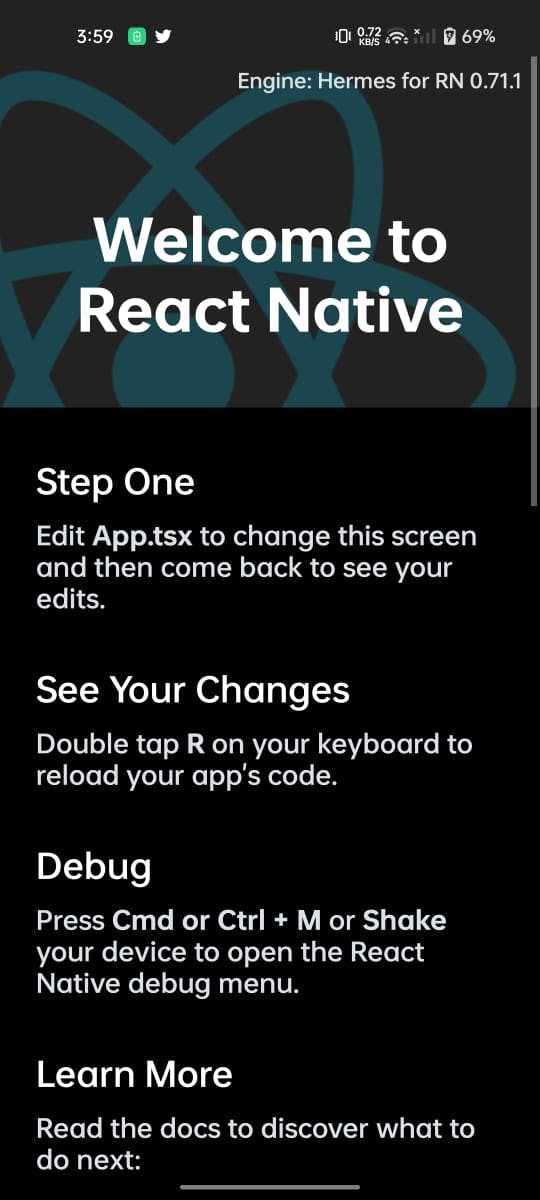
A screen like this would start on your mobile device.
The chances of you facing any errors would be negligible if you have followed all the above steps correctly but in case you are facing any feel free to post it in the comments as I would be more than happy to help you with it 👉👈.
Till then keep coding and stay tuned for the upcoming blogs ;)